
Change color theme
Workspace settings
Owners and administrators manage the workspace from Settings. Personal preferences live in Your profile, opened from your account menu.
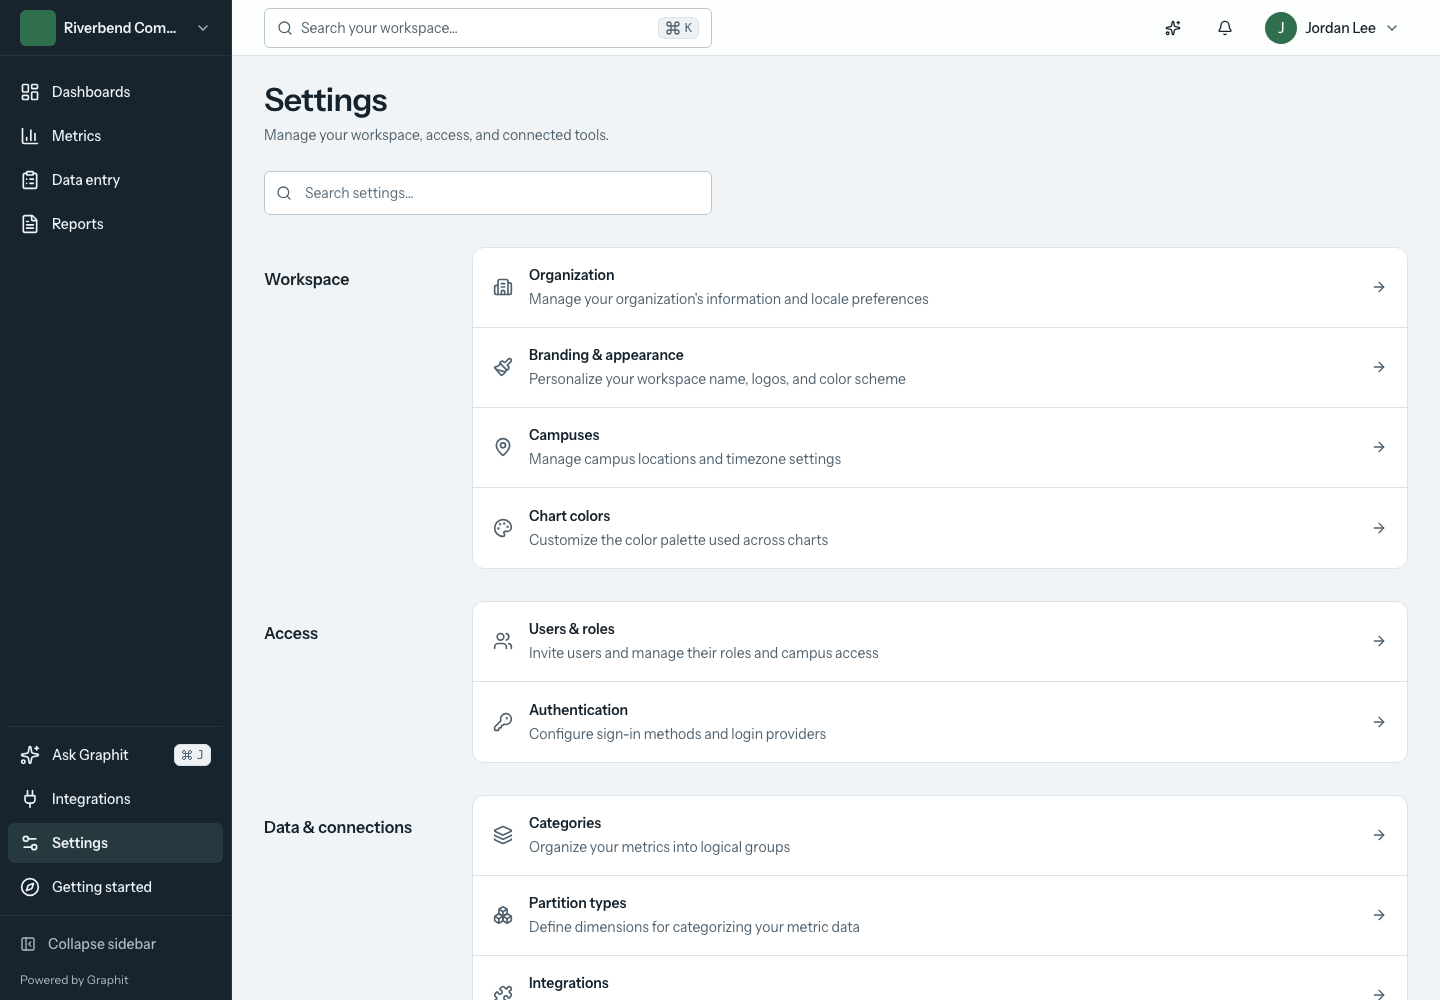
Find a setting
Open Settings from the sidebar, or More on a phone. Search settings by name or use the groups below. On wide screens, section navigation stays beside the form. On smaller screens, use the selector showing the current section.
| Group | Use it for |
|---|---|
| Workspace | Organization information, locale, branding, campuses, and chart colors |
| Access | Users, roles, campus access, and sign-in methods |
| Data & connections | Categories, partition types, integrations, assistant preferences, and chart annotations |
| Billing | Subscription, plan usage, and billing |
Set organization preferences
- Open Settings → Organization.
- Review the organization's contact information.
- Under Locale & formatting, choose the workspace defaults for date, time, and calendar formatting.
- Use Save changes when the pending-changes bar appears. Discard restores the saved values.
A person's profile can override supported locale preferences. If two people see different date formats, compare their profiles before changing the organization defaults.
Personalize the workspace
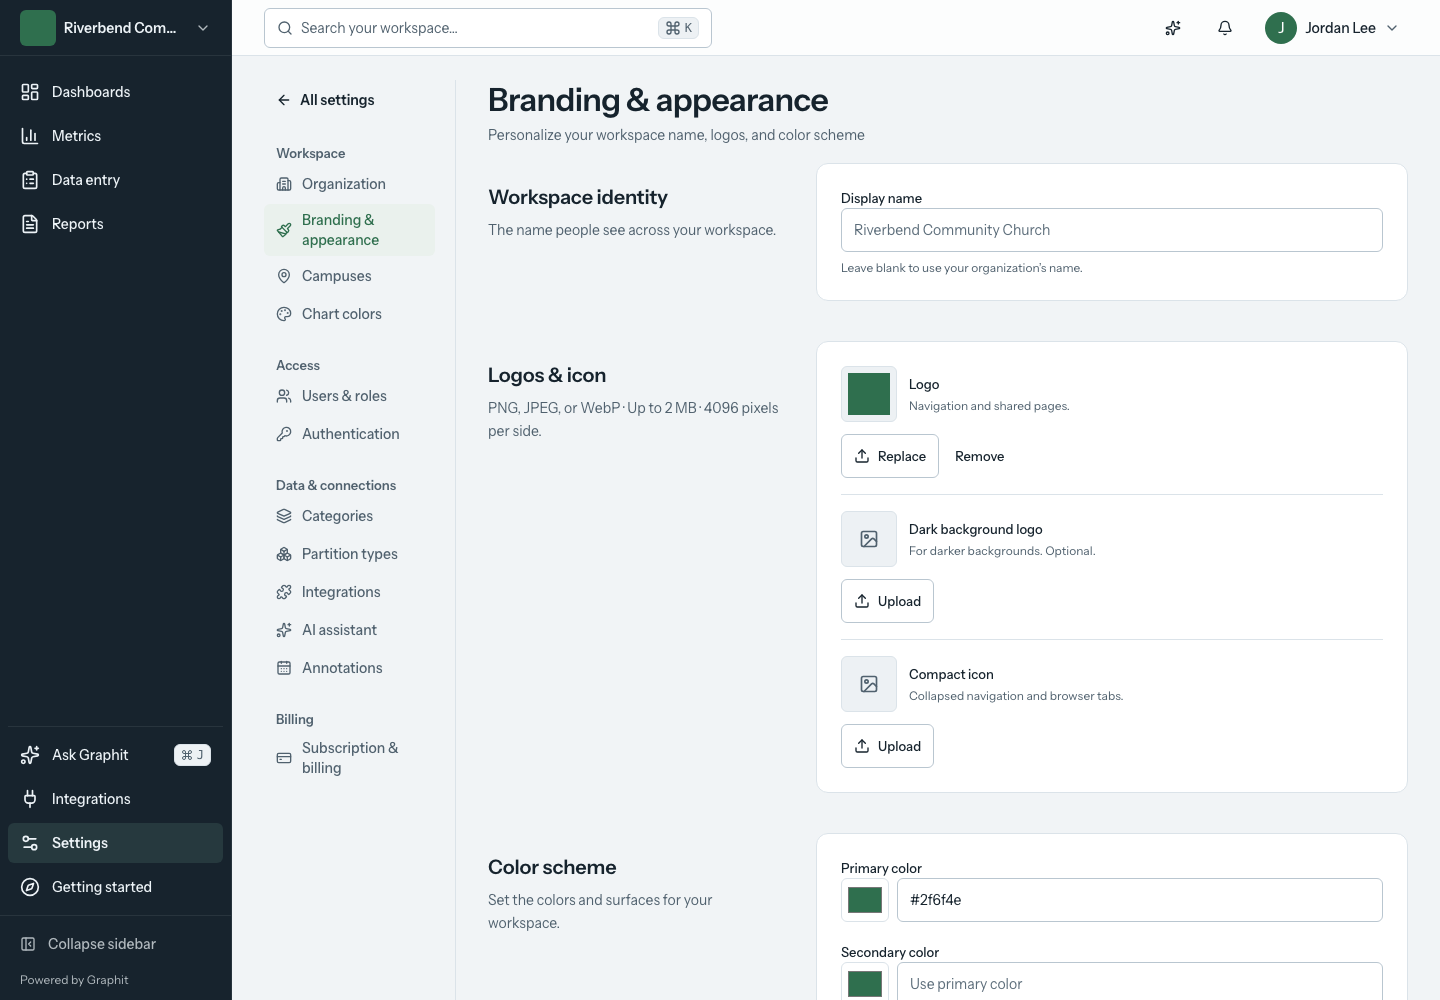
Open Settings → Branding & appearance.
- Workspace identity controls the display name people see in the app.
- Logos & icon accepts PNG, JPEG, or WebP images up to 2 MB and 4096 pixels per side. Provide artwork suitable for each supported background.
- Color scheme controls the primary color, optional secondary color, and navigation appearance.
Review your draft before saving. Picking a file or changing a color does not publish it immediately. Save to apply the changes, or discard to return to the saved appearance.
Use Chart colors for the palette assigned to chart series. The workspace's primary button color and its chart-series colors serve different purposes.
Configure campuses and metric organization
Use Campuses to manage locations and their timezone settings. Campus access also affects which data a person can use.
Use Categories to group metrics by subject, such as attendance or giving. Use Partition types to define breakdowns within a metric, such as service time or age group. See Manage metrics before choosing a new breakdown: a category and a partition solve different problems.
A category can also limit who sees its metrics. Edit the category and set Who can see this category to restrict it to selected roles and people. See Control who can see a metric.
Manage people and sign-in
Open Users & roles to invite people and review their roles and campus access. Give each person the access their work requires. The available controls depend on your own role and workspace state.
| Role | Can |
|---|---|
| Viewer | View dashboards and reports and apply filters. |
| Editor | Also create dashboards and charts, record data, and schedule reports. |
| Administrator | Also manage users, roles, data sources, and who can see confidential metrics. |
| Owner | Full control, including billing and the subscription. |
Open Authentication to review allowed sign-in methods and configure supported providers. Provider setup includes values that must also be entered in the provider's administration console. Follow the values shown for your workspace, including its redirect address; do not copy addresses from another workspace.
Keep a working sign-in method available while testing a provider change. Check the new method in a separate browser session before relying on it.
When someone leaves
In Users & roles, open the person's row Actions and choose one of two options. Both ask you to confirm.
| Action | What happens |
|---|---|
| Deactivate | The person can no longer sign in to Graphit, in this workspace or any other workspace they belong to. Everything they own stays where it is. Activate restores their access. A deactivated person still counts toward your plan's user limit. |
| Remove from workspace | Owners only. The person loses access to this workspace immediately. The reports, dashboards, folders, and forms they own here pass to you. Their campus access, the items shared with them, and their assistant conversations here are deleted. Data entries, metrics, and other records they created stay, without their name attached. If this was their only workspace, their Graphit account is deleted too; to bring them back, invite them again. |
You cannot remove yourself, and a workspace's last owner cannot be removed; make someone else an owner first.
Deactivating or removing someone also affects the work that runs in their name:
- Scheduled reports they created pause at their next send and show why. The report's owner or an administrator can review the schedule and resume it; the person who resumes it becomes its sender.
- Public links and embeds they created keep working, but show only what that person can currently see. After removal, restricted metrics no longer appear in them.
Plan limits and usage
Your plan sets limits on users, campuses, dashboards, metrics, and data entries per month. Open Settings → Subscription & billing to see your plan.
When a limit is 80% used, the related page shows a short usage line, such as how many dashboards of the plan's allowance you have created. At the limit, a notice explains which limit was reached and links to Upgrade. Create buttons for that item, such as Create dashboard, Add campus, or Invite user, are unavailable until you remove an item or change plans. Counts update as soon as you create or delete an item.
Configure the assistant and connected tools
AI assistant contains workspace assistant preferences and weekly brief settings. Read Work with the assistant for the distinction between asking a question, preparing a draft, and confirming an action.
Integrations is also available directly in navigation. Follow the provider-specific guide for Rock RMS or Planning Center.
When a change will not save
Read the message next to the affected field or the page's error message. Correct the invalid value and retry. Do not reload while you still need unsaved changes.
If the controls are unavailable, check your role and whether the workspace is read-only. See Troubleshooting.