
Change color theme
Graphit for RockRMS
Bring your Rock measurements into Graphit to explore attendance, giving, and ministry trends in shared dashboards and reports. The Graphit plugin connects your Rock installation to your Graphit organization; you choose which measurements to bring across.
This is the installation and getting-started guide for the Graphit Rock Shop plugin. Already installed? Connect your organization. Already connected? Choose measurements and check your first values.
Before you begin
You need:
- An administrator account in the Rock installation you want to connect.
- A Graphit account and organization, with Owner or Administrator access to that organization.
- Your Rock server's HTTPS address, such as
https://rock.yourchurch.org. Graphit must be able to reach it. - Rock 17.2 or later. The current plugin is tested on Rock 17.2, 18.2, and 19.1. Check the package's Rock version requirement before installing or updating.
Install the plugin in Rock
- Sign in to Rock as an administrator and open Admin Tools → Rock Shop.
- Open the Graphit Integration listing and install the package compatible with your Rock version. Follow Rock's installation prompts.
- After installation, open Admin Tools → Installed Plugins → Graphit.
- Choose Link Rock to Graphit to begin connecting your organization.
The plugin provides the connection; measurements, dashboards, and reports are managed in Graphit. For Rock's package installation help, see the official Rock Shop.
Connect your organization
Starting from Link Rock to Graphit in Rock takes you through Graphit sign-in, organization selection, and authorization. Check that you have selected the intended organization before continuing.
You can also start in Graphit:
- Open Integrations from the sidebar, or More → Integrations on a phone.
- On the RockRMS card, choose Connect.
- Enter your Rock server URL and choose Connect again.
- Follow the redirect to Rock and sign in as a Rock administrator if asked.
- On Connect Rock to Graphit, check the Graphit organization, then choose Allow and connect.
- Return to Graphit to continue Set up Rock.
On the Graphit page in Rock, a successful link shows Connected and the linked organization. Open Graphit takes you back to the app.
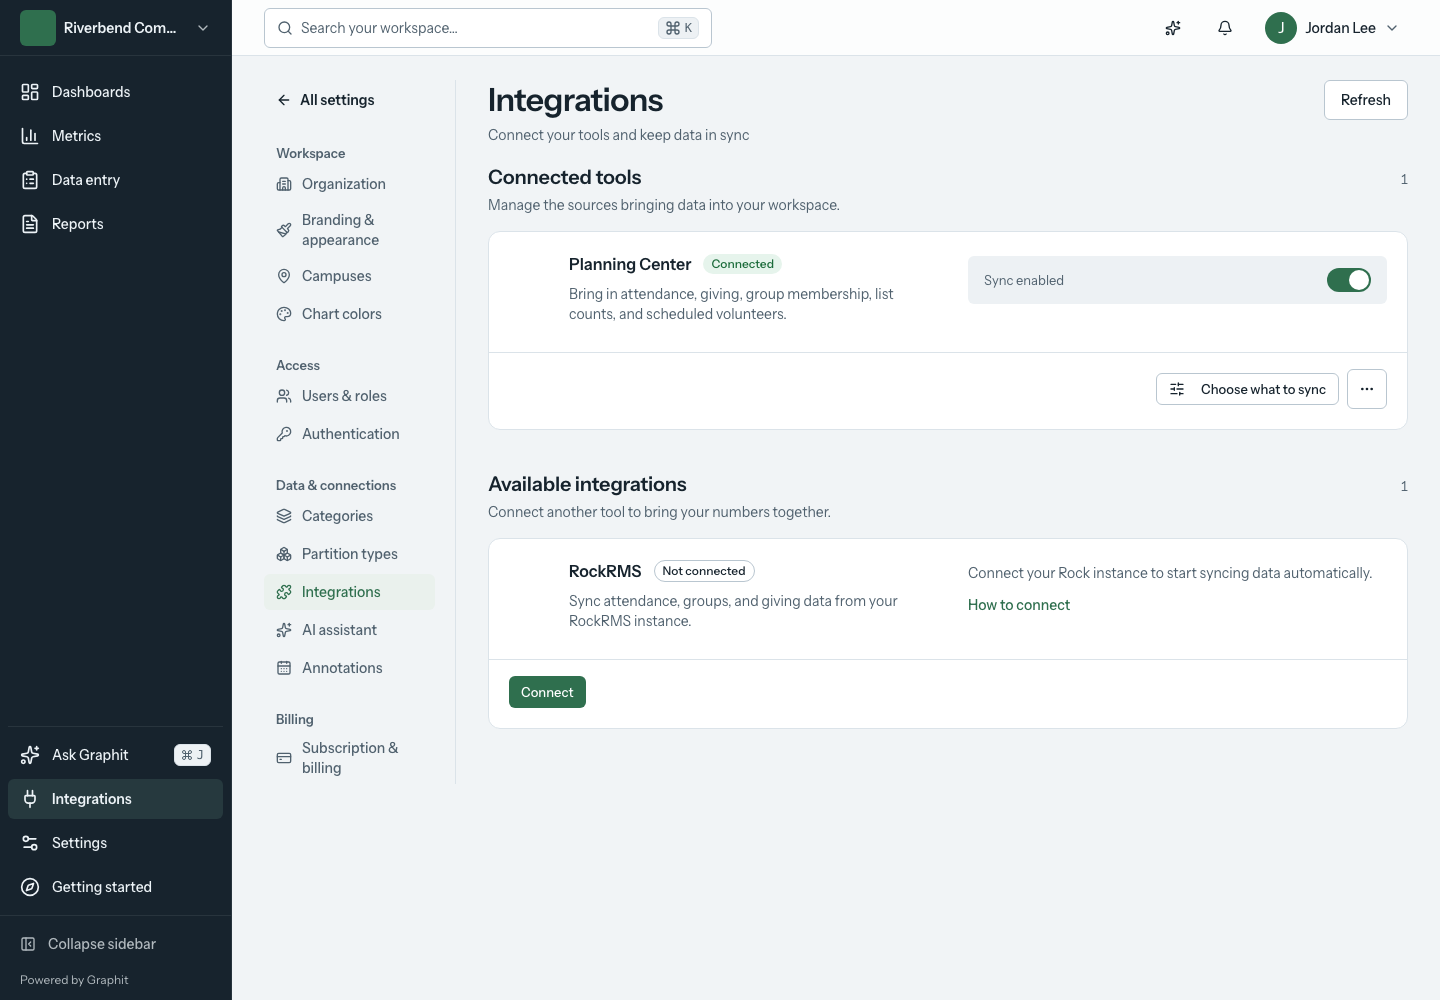
The normal setup uses browser authorization. You do not need to copy REST keys or webhook URLs into Graphit. A Rock installation pairs with one Graphit organization; connecting it to another organization replaces its previous authorization.
If you need to stop, choose Save and exit. Return through Finish Rock setup or the RockRMS card's Finish setup button.
Choose measurements and check your first values
Work through the guided setup in Graphit:
- Discover what Rock already has. Review which measurements have recent values, which only have history, and which need attention in Rock.
- Match campuses and service times. Match Rock's campuses and times to Graphit so each value lands in the right place. Review ambiguous or missing matches.
- Choose measurements. Select the rows you want. Each row explains whether Graphit will use an existing Rock metric or create a standard measurement in Rock. Review the row's questions and choose Add selected.
- Review the suggested dashboard. Keep or remove proposed widgets, then choose Create dashboard, or skip this step for now.
- Check the first values. Compare the date, campus, and value with Rock. Choose Confirm when correct, or Something's off to investigate.
For the complete walkthrough, including matching, measurement choices, and first-value checks, use Connect RockRMS.
Rock calculates its measurements on their own schedules. Initial history may still be loading after connection. Sync now imports available values; it cannot make an unscheduled Rock metric produce data.
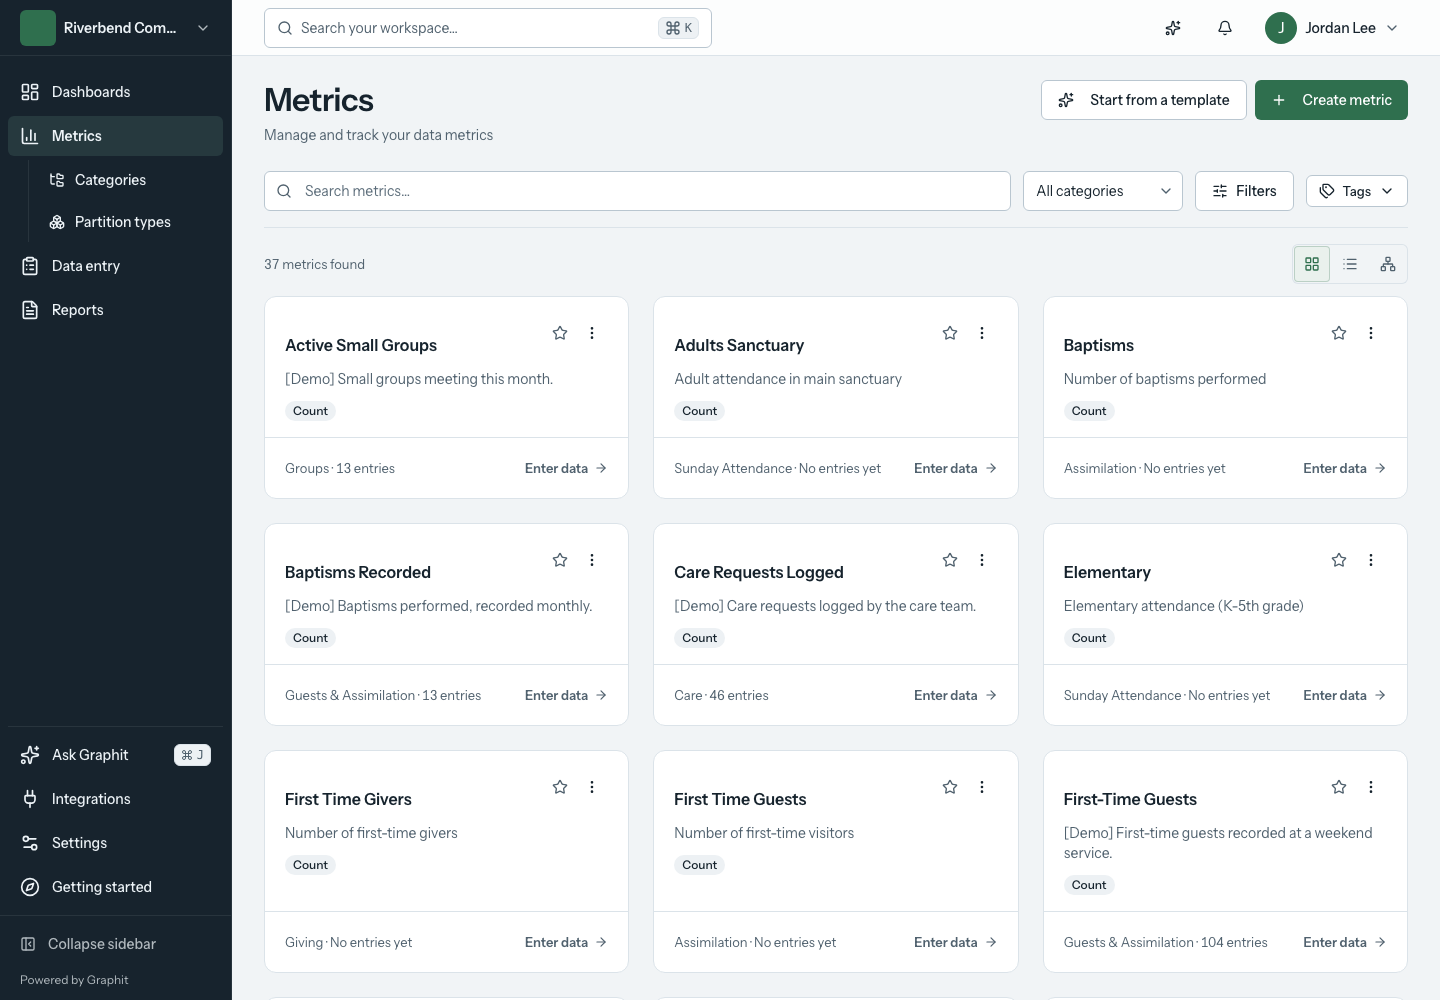
After guided setup, open Integrations → RockRMS → Manage measurements to add more measurements or check pending first values. Use Refresh from Rock after changing the source in Rock.
Understand what the plugin can change
| Your choice | What it does |
|---|---|
| Connect an existing Rock metric | Reads its metadata and values into Graphit. The Rock metric continues calculating on its existing schedule. |
| Ask Graphit to create a standard measurement | Creates the measurement in Rock using the options you review during setup. This requires metric-write permission. |
| Match campuses or service times | Connects the two systems' records and can create missing equivalents in Graphit. It does not rename those records in Rock. |
Creating measurements requires both Metric writes on the Graphit page in Rock and authorization in Graphit. If Graphit can read but cannot create, open Integrations → More RockRMS actions → Settings → Allow creating metrics to authorize after checking the Rock setting. Reading existing measurements does not require you to enable creation.
The plugin sends Graphit counts and measurement values, not people's profiles. Some sources include Rock's internal person IDs so Graphit can count each person once; names, contact details, birth dates, and individual gift amounts are never sent. Your metric SQL stays in Rock. The one exception is an embedded data-entry form, which tells Graphit which signed-in Rock person made each entry. See the FAQ for details.
Only enable the sources your organization needs. Some optional donor, step, and group features work with individual or group records, not just totals. Review donor, step, and group data before configuring those sources. Graphit access is managed separately from Rock; review who can see your metrics, dashboards, and reports in workspace settings.
Build your first dashboard or report
Start with a few measurements that answer a useful question: weekend attendance by campus, giving over time, or progress in a ministry. Add a date range and clear labels so your team knows what the numbers represent.
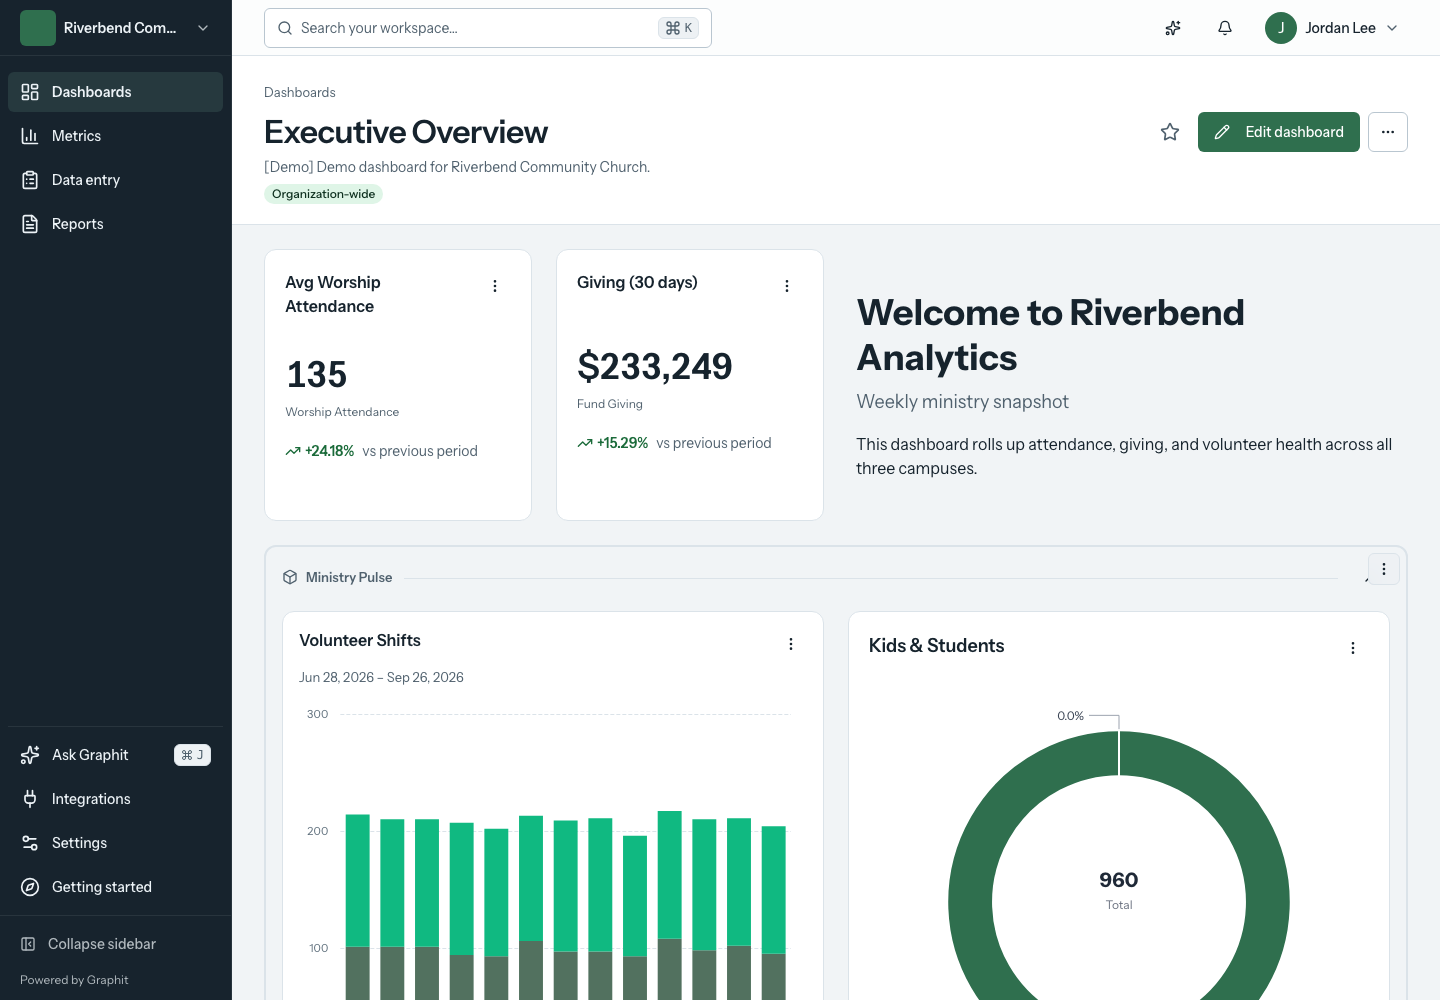
- Build a dashboard with pages, charts, comparisons, and shared filters.
- Create a report grouped by campus, date, or multiple dimensions, with a preview before sharing.
- Manage metrics to organize definitions, recorded values, and sources.
Show Graphit content on a Rock page
The plugin also includes a Graphit Embed block. Use it to place a dashboard, report, individual widget, or metric entry form on a Rock page.
- Create the content you want in Graphit first.
- In Rock's page editor, add a Graphit Embed block to the intended page.
- Open the block configuration bar and choose the Edit Embed pencil. The content picker is here, rather than in Rock's ordinary settings gear.
- Select Dashboard, Report, Widget, or Metric entry form, then choose the resource by name. Use Refresh list if you just created it; only content eligible for embedding appears.
- Choose Panel with title, Panel without title, or No panel. Adjust the background and Graphit header display to suit the page, then save.
- Open the page as a member of its intended audience and check both the content and the page's access settings.
Metric entry forms require the visitor to sign in to Rock and attribute the submission to that Rock person. If the block asks you to Reconnect to enable Graphit embeds, reconnect from Admin Tools → Installed Plugins → Graphit, then reopen the embed settings.
How embeds stay secure and current
Each embed is a signed, time-limited link bound to the Rock site it was created for. Graphit content can be framed only by that Rock site; another website cannot display it in a frame. Anyone who has the embed's address can still open its data outside a browser frame, so embed only content that every viewer of the Rock page may see. If an embed's address is exposed, contact Graphit support to revoke it.
From plugin 0.7.2, an embed renews its own signature when it is displayed within 7 days of expiring. You do not need to re-save the block. If a renewal fails, the error is recorded in Rock's Exception Log and the embed keeps working until its current signature expires. An expired embed shows “Graphit is unavailable right now” instead of an error page.
Embeds display what the person who created them can see in Graphit. A widget that uses a restricted metric that person cannot see shows a Restricted placeholder.
Update or troubleshoot the connection
Install compatible plugin updates through Rock's normal plugin process. Then open Integrations → More RockRMS actions → Settings → Check plugin in Graphit to refresh the available capabilities.
| What you see | Next step |
|---|---|
| The Graphit page is missing in Rock | Confirm installation completed, sign in as a Rock administrator, and check Admin Tools → Installed Plugins. |
| Connection failed, Reconnect, or Retry Setup | Check your Rock HTTPS address and reachability, then complete browser authorization again. Verify the intended Graphit organization. |
| Update the Graphit plugin | Install a compatible current release in Rock, then use Check plugin in Graphit's integration settings. |
| Graphit can read measurements but cannot create them | Check Metric writes in Rock and Allow creating metrics in Graphit's integration settings. |
| Waiting on Rock or No values yet | Check the metric's schedule and source data in Rock. Allow the initial import to finish. |
| Values appear under the wrong campus or date | Review source matches and compare the first values with Rock before confirming them. |
Use Settings → Check connection for a connection test. A working connection is the first check; compare actual measurement values as well. See connection troubleshooting for more detail.
For help, email support@graphit.io or contact the Graphit team with your Rock version, Graphit plugin version, the step you were on, and the error shown. Include screenshots with any private information removed.